
Do you want to know how to paint a wall with a brush? It is easy to paint with a brush, as long as you follow certain rules to avoid leaving streaks or brush marks.
Most importantly, the brush, or paintbrush, makes it possible to paint both large and small surfaces using little paint. Let us look at how to paint your walls with it.
How to Paint a Wall with a Brush
To paint with a brush, choose the right material. Keep in mind that brushes are for specific uses or for the application of specific paints.
Further, different brushes adapt to different types of paint. Going on, the color of the handle of a brush indicates what type of paint or work it is made for:
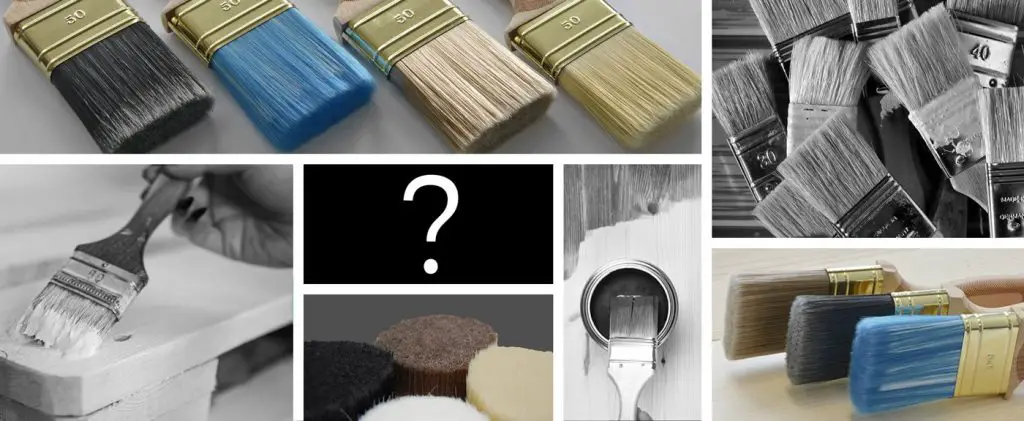
Firstly, if the handle is blue, the brush is for water-based paint (acrylic, vinyl, or alkyd).
Secondly, for a red handle brush, the brush is for oil painting (glycerol, epoxy, or polyurethane).
Thirdly, if the handle is brown, the brush is for varnish.
Fourthly, for a yellow handle brush, the brush is ideal for all types of work.
Finally, if the handle is purple, the brush is for decoration work.
The Steps
-
Mix the Paint
Before painting with a brush, prepare the paint by mixing it to distribute the pigments. In addition, you can add pigments to the paint to obtain the color you want.
In all cases, mix the paint so that the color is homogeneous. For example, you can mix the paint manually, with a stick or a hand mixer, or with a drill that has a mixing whisk.
To Mix the Paint Manually – The Steps
Mix the paint manually:
Firstly, place a wooden stick or hand mixer in the center of the paint can.
Secondly, mix the paint from the center outwards, from the bottom of the can upwards, from right to left and vice versa.
Then, avoid beating the mixture to prevent air bubbles from forming.
Further, ensure that the color of the paint is homogeneous.
To Mix the Paint with a Mixing Whisk
If you mix the paint with a drill equipped with a mixing whisk:
Start by plunging the mixing whisk into the center of the pot, and turn on the drill, set it to a slow speed. Do not activate the percussion function of your drill!
Then, move the mixing whisk towards the edges and bottom of the pot. Remember not to move the mixer too close to the surface to avoid splashing.
Also, ensure the color of the paint is uniform.
-
How to Paint a Wall with a Brush – Prepare the Brush
One of the faults of the brush is that it sheds its hairs, especially the first time you use it.
If You Use a New Brush:
First, crush the bristles of the brush with your fingers, without pulling or twisting them. It will make the loose hairs fall out.
You should then moisten the brush, and run it over a smooth surface, for example, wall, or wooden board. That will ensure you get rid of loose hairs.
-
Load The Paint Brush With Paint
Dip the brush into the paint to load it:
You should first hold the brush vertically.
Then, you should dip the bristles of the brush, two thirds of the way into the paint, to load the brush.
Then, remove the overflow of paint by wringing it out on the edge of the jar, and the paint must not run.
-
Apply the Paint with the Brush
How to Hold the Brush?
It is important to hold the brush firmly when you paint:
To start with, you can hold the brush in whatever way you feel most comfortable, full hand, or the same way you hold a pen.
Most importantly, hold the brush by the handle. To work accurately, place your fingers on the ferrule (the metal part that holds the bristles of the brush).
Spread the Paint
For the best results, you should apply the paint methodically. For example, if you are painting a large area, divide it into areas of 1 m² that you will paint gradually.
Then, press the brush on the surface to paint. This will enable you to bend the hairs without crushing them.
Further, apply the paint in vertical strips, making up and down, and down and up movements.
In addition, you should slightly overlap the strips of paint.
-
How to Paint a Wall with a Brush – Cross the Passages of the Brush
Once you have painted the vertical stripes, cross the brush strokes:
Now, proceed and apply the paint in horizontal stripes; make movements from left to right, and vice versa.
Furthermore, make sure you overlap the strips of paint to cover the entire surface without leaving any gaps.
-
Smooth the Surface
When you have covered the surface with paint, smooth to eliminate brush marks and unify the result.
Make sure you do not refill the paint brush.
Then, you should move the brush up, down, up, and down with light pressure.
When you have smoothed the paint, paint the next square, making sure to overlap the areas.
-
To Paint the Corners with the Brush
To accurately paint the corners of walls or ceilings, for example, use a paintbrush. This is a brush with a small diameter, round at the base, and pointed at the end. The steps are:
Firstly, hold the paintbrush as if you were holding a pen.
Secondly, press the brush against the wall without crushing it.
Remember to use your little finger if you want to work with precision.
-
Clean the Equipment
Once you’re done painting, clean the brushes:
First, you should wipe the paint off on a piece of paper or cardboard.
On the other hand, if you apply water-based paint, clean the brush thoroughly with warm soapy water until you remove all traces of paint.
If you apply oil paint, clean the brush in a tray with the corresponding solvent. This is the same solvent in which the paint is diluted.
Then, rinse with clear water.
Wring out the brush without wringing its bristles.
In The Case Of a New Brush
To Clean a New Natural Bristle Brush
First, let the brush soak overnight in linseed oil at ¾ of the bristles.
Then, you should rinse it with warm soapy water, taking care to remove all traces of paint.
The next step is to wring it out without twisting it, from the ferrule (the metal part that holds the bristles of the brush) to the top of the bristles.
To Clean a New Synthetic Bristle Brush
Let the brush soak overnight in clear water at ¾ of the bristles.
Afterwards, if traces of paint remain, rinse with clear water to remove them.
Finally, wring it out, from the ferrule to the top of the bristles.